How to Create a Bing Places for Business Listing – Step by Step Guide
I am going to document how to setup a Bing Places for Business Listing for those that are interested in handling this task on their own. While I currently offer a “Local Search Engine Placement” service, which includes account setup and optimization of your local listings(including citation building, etc), business owners are more than welcome to handle this on their own.
Before proceeding, ensure you currently have a Microsoft account. If you don’t, please create one here: Create Microsoft Account
Step 1: Go to https://www.bingplaces.com/ where you should see a page like the one I have attached here:

Step 2: On this page, you will see a button entitled, “Get Started”. Click this button. Once you click the “Get Started” button, you will be taken to the following URL: https://www.bingplaces.com/DashBoard. The page should look like this:
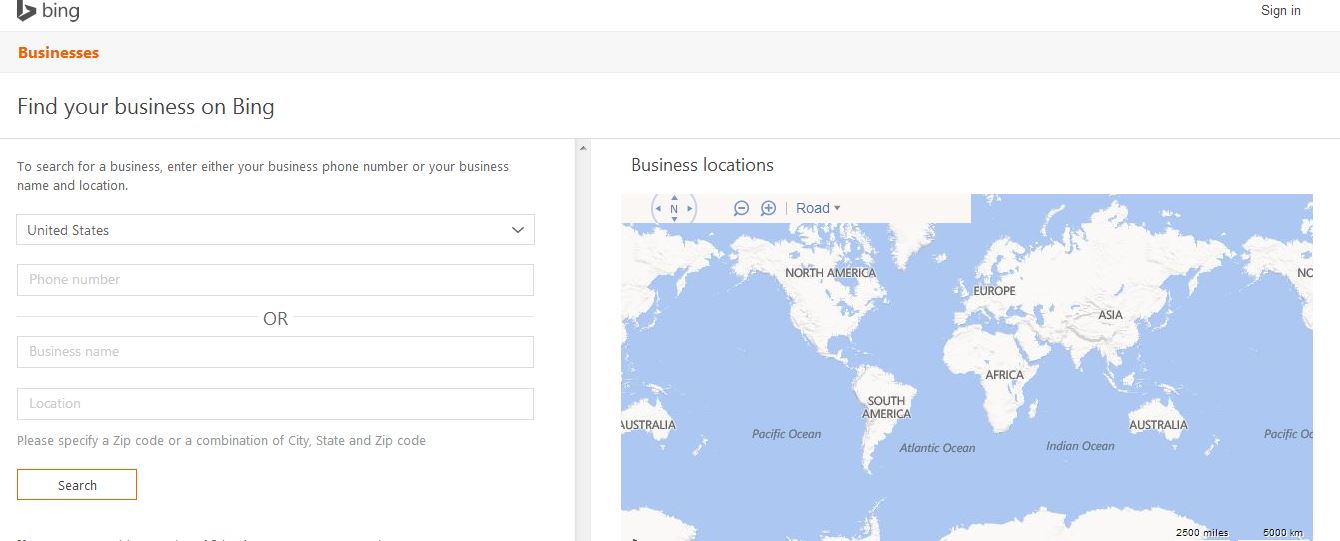
Step 3: This page entitled “Find your business on Bing” is where you will enter either your business’s Phone number or Business name + Location to see if your business is already listed with Bing Places. Chances are, if you are going through these steps in this guide, you are going to get the following message: “Search Results: We found no businesses with the given information”. Don’t fret. You have one of two choices: Modify your search(try entering a different phone number or business name/location) or the option to “Create new business”. If you are positive you searched properly and your business is not listed, you are going to want to click the “Create new business” button.
Step 4: For this guide, I am going to assume your business is not listed and therefor you will need to create a new business listing. Once you click “Create new business” button, if you are not logged into Bing, you will be prompted with a box to “Login to continue”. As I mentioned at the start of this guide, you will need a Microsoft account in order to create you Bing Places Listing. Once logged in, you will automatically be redirected to the page in “Step 5”
Step 5: You should have now been redirected to a page entitled, “Enter your business details”. This page is where you will start to enter your business’s information. The page should look like:

On this page, there are many text boxes, check boxes and pull down menus. Take your time filling out and choosing the correct options for each. The more thorough you are, the better your Bing Places profile will be.
Step 6: Submit! Once you click the submit button, you will be taken to another page entitled “Verify your business”. In my case, I was given the option to “Verify by Post”. By choosing this option, Bing Places will send you a postcard containing a PIN and instructions on how to verify your newly created Places Listing.